

Key Takeaways
- Matching texture matters more than patching the hole itself for an invisible repair.
- Identifying your existing texture type before starting saves time and materials.
- Joint compound consistency is the most common point where texture attempts fail.
- Priming the patch before painting is required, not optional, for a seamless result.
- Small test patches on scrap drywall let you dial in technique before touching the wall.
What you will need
Why texture matching is where repairs go wrong
Patching a hole in drywall is a manageable task for most homeowners. The repair itself, filling the void and getting the surface flush, follows a clear process with forgiving materials. Texture matching is different. It requires you to reproduce a pattern that was likely applied years ago with specific equipment and technique, using materials that behave differently depending on temperature, humidity, and how much water you add.
The result of a poor texture match is a patch that is structurally sound but visually obvious. Even with perfect paint color, the eye picks up contrast in surface depth. This is why the texture step deserves more attention than the patching step.
Low-angle light reveals everything
Before and after texturing, check your work with a flashlight held almost parallel to the wall. This raking light shows surface variation that overhead or ambient light completely hides. It is the most reliable way to catch problems before paint locks them in.
Understanding the texture type on your wall before you start is the single decision that shapes everything else, including which tools to buy and which technique to practice.
What you will need
Gather your materials before starting. The specific texture tools you need depend on what type of texture your wall has, so confirm that first.
What you will need
Drywall joint compound (all-purpose or lightweight)
Used for filling the patch and, thinned or thickened to the right consistency, for recreating wall texture.
Drywall patch kit or mesh tape
Covers and reinforces holes before joint compound is applied.
Putty knife or taping knife (4 to 6 inch)
Applies and smooths joint compound over the repair area.
Texture spray can or hopper gun
Replicates spray-applied textures such as orange peel or knockdown.
Natural sea sponge
Creates stipple or skip-trowel texture patterns manually.
Drywall primer (PVA primer preferred)
Seals the patched surface so finish paint adheres and absorbs evenly.
Fine-grit sandpaper (120 to 150 grit)
Smooths dried compound edges before texturing begins.
Step-by-step repair process
Identify your existing wall texture
Before touching the patch, look closely at the surrounding wall under a low-angle light. Common residential textures include:
- Orange peel: small, rounded bumps resembling citrus skin, applied with a spray.
- Knockdown: flattened, irregular blobs created by spraying and then lightly troweling before drying.
- Skip trowel: a hand-applied pattern with curved, random skips left by a trowel or knife.
- Popcorn (acoustic): a heavy, bumpy surface found mostly on ceilings; contains materials that may require professional testing before disturbance in older homes.
- Smooth: no texture at all, which is the easiest to match but reveals every imperfection.
Photograph the wall texture up close. You will reference this when testing your technique.
Prepare and fill the hole
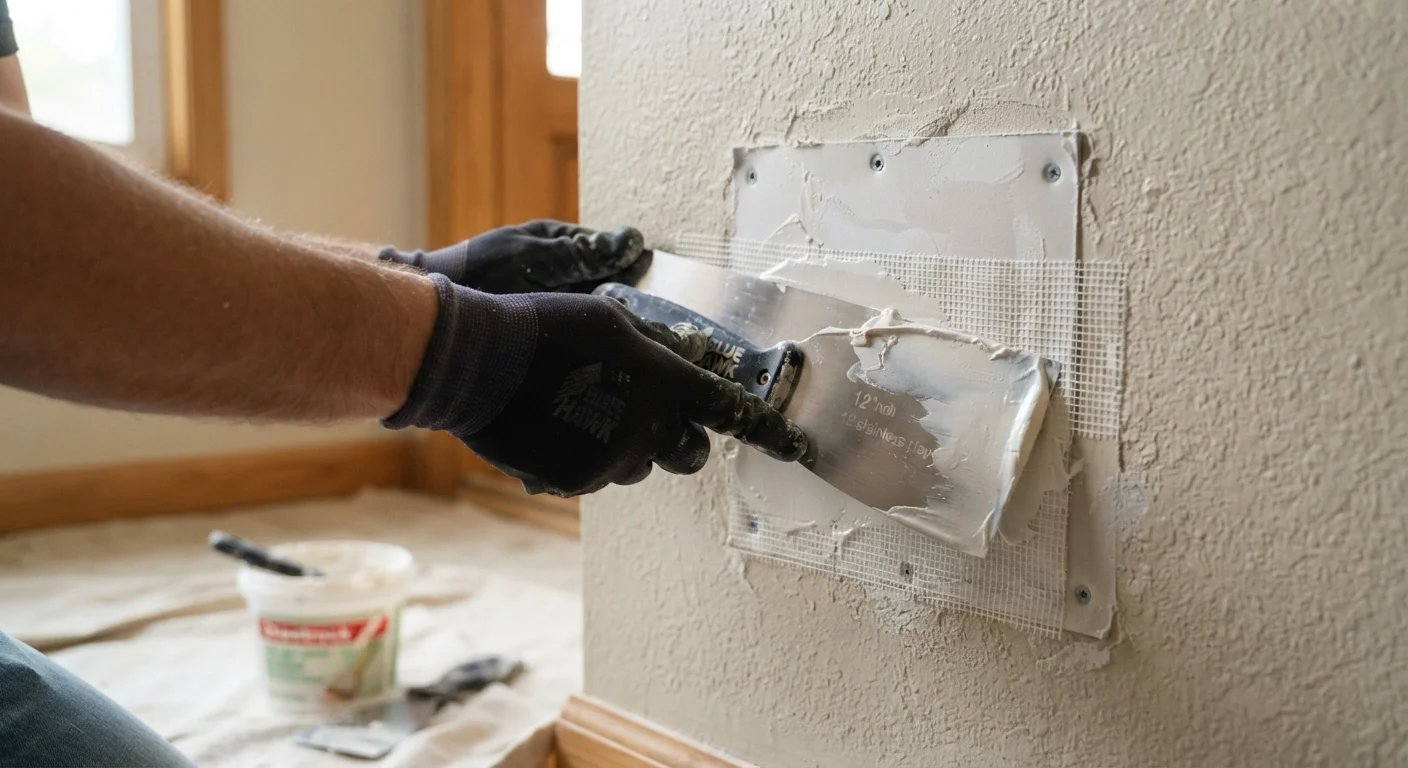
Apply your patch backing or mesh tape per the product instructions. Spread a thin coat of all-purpose joint compound over the patch with your taping knife, feathering the edges outward at least 4 to 6 inches beyond the hole. Let it dry completely (typically 24 hours at room temperature) and apply a second coat if needed to bring the surface flush with the wall. Sand lightly with 120- to 150-grit paper until the edges are invisible to touch.
Test your texture on scrap before touching the wall
Cut a piece of spare drywall or use a piece of cardboard primed with drywall primer. Practice recreating the texture you identified in Step 1. This step is worth the time because joint compound consistency changes dramatically with small amounts of water. A thinner mix produces finer, rounder bumps; a thicker mix produces broader, more raised patterns.
For spray textures, adjust the can distance and air pressure on the test piece until the bead size matches. For hand-applied textures, experiment with sponge pressure and compound load. Do not move to the wall until your test piece matches the surrounding surface.
Apply texture to the patched area
Once your test is dialed in, replicate the technique on the actual patch. Work slightly beyond the edges of the repair to blend the new texture into the existing one. A common mistake is texturing only the patch itself, which leaves a visible border even after painting.
For knockdown texture, spray lightly, wait two to three minutes until the surface loses its wet sheen, then lightly drag a wide taping knife across the peaks without pressing hard. The goal is to flatten the tops of the compound blobs, not scrape them off.
For skip trowel, load a rounded trowel or margin knife with a small amount of compound and press it against the wall at a shallow angle, then pull away quickly. Vary the direction with each application.
Prime the patch before painting
Once texture is fully dry, apply a PVA drywall primer to the entire patched area. Bare joint compound is highly porous and will absorb paint unevenly, producing a flat, dull spot called flashing even if the color matches exactly. Primer seals the surface so the finish coat behaves the same way across the whole wall.
After the primer dries, apply your finish paint. Two coats generally produce a more consistent sheen than one, especially with flat or eggshell finishes.
This article provides general home maintenance information. For repairs involving structural walls, permitted work, or damage caused by water or mold, consult a licensed contractor and verify your local code requirements before proceeding.