

Key Takeaways
- Sealing concrete yourself can cost significantly less than hiring a professional contractor.
- Surface preparation is the most critical step; skipping it leads to premature sealer failure.
- Timing and weather conditions directly affect how well the sealer bonds and cures.
- DIY sealing requires physical effort and basic equipment that homeowners must source or rent.
- Sealers must be reapplied periodically; the exact interval depends on traffic and product type.
- For driveways with significant cracking or damage, professional assessment is worth considering first.
Lower cost than hiring a professional
Professional concrete sealing typically includes labor charges that can exceed the material cost several times over. Doing it yourself cuts the bill to the price of the sealer, cleaner, and any equipment you rent or already own.
Protects concrete from water and stain damage
A properly applied sealer reduces water infiltration, which limits freeze-thaw damage in cold climates and slows the absorption of oil, grease, and other surface stains.
Flexible scheduling on your timeline
You choose the date and pace. There is no need to coordinate with a contractor's availability or take time off work to supervise an appointment.
Straightforward process for intact driveways
If the surface is structurally sound with no major cracks or spalling, the process involves cleaning, etching if needed, and rolling or spraying on the sealer. Most homeowners can follow these steps without specialized training.
Extends the life of the concrete surface
Regular sealing slows surface wear by blocking the elements that break down concrete over time, which can reduce long-term repair frequency on well-maintained driveways.
Surface prep is labor-intensive
Thorough cleaning, degreasing, and etching a full driveway takes several hours of physical work. Any oil stains, dirt, or residue left behind will prevent the sealer from bonding correctly.
Weather conditions are a hard constraint
Most concrete sealers require temperatures between roughly 50 and 90 degrees Fahrenheit and no rain for at least 24 to 48 hours after application. Applying outside this window risks milky discoloration, bubbling, or peeling.
Wrong product choice causes visible problems
Penetrating sealers, acrylic coatings, and epoxy-based products behave differently and suit different situations. Choosing a film-forming sealer on a damp slab, for example, can trap moisture and cause the coating to fail within months.
Lap marks and uneven coverage are common first-time mistakes
Working too slowly, overlapping wet sections, or missing spots leaves visible streaks or patchy sheen that is difficult to correct without stripping the sealer entirely.
Reapplication adds recurring time and cost
Most driveway sealers need reapplication every two to five years depending on traffic and product type. The project is not a one-time fix, and skipping a cycle lets the protection erode.
Chemical exposure requires proper safety measures
Solvent-based sealers produce fumes that require adequate ventilation and a respirator rated for organic vapors. Working without proper protective equipment poses genuine health risks.
Our Verdict
Sealing your own concrete driveway is a reasonable project for a homeowner who is comfortable with manual prep work and willing to follow application instructions carefully. The cost savings are real, but so is the margin for error. Rushed or poorly timed application can trap moisture, cause peeling, or require costly removal.
Homeowners with a structurally sound driveway, a free weekend, and confidence in following multi-step preparation guidelines.
What sealing actually does to concrete
Concrete is porous. Water, road salt, oil, and other substances work into those pores over time, causing surface staining, freeze-thaw cracking in cold climates, and gradual erosion. A sealer closes or coats those pores, slowing that process.
There are two broad categories of concrete sealer. Penetrating sealers (also called impregnating sealers) absorb into the surface and react chemically with the concrete to block moisture from within. Film-forming sealers, which include acrylics and epoxies, sit on top of the surface and create a protective layer that is visible as a sheen. Each type suits different situations, and choosing incorrectly is one of the most common DIY mistakes.
Sealing does not restore damaged concrete or fill cracks. Its function is protective, not restorative.
Pros of sealing your own driveway
Lower cost than hiring a professional
Professional concrete sealing typically includes labor charges that can exceed the material cost several times over. Doing it yourself cuts the bill to the price of the sealer, cleaner, and any equipment you rent or already own.
Protects concrete from water and stain damage
A properly applied sealer reduces water infiltration, which limits freeze-thaw damage in cold climates and slows the absorption of oil, grease, and other surface stains.
Flexible scheduling on your timeline
You choose the date and pace. There is no need to coordinate with a contractor's availability or take time off work to supervise an appointment.
Straightforward process for intact driveways
If the surface is structurally sound with no major cracks or spalling, the process involves cleaning, etching if needed, and rolling or spraying on the sealer. Most homeowners can follow these steps without specialized training.
Extends the life of the concrete surface
Regular sealing slows surface wear by blocking the elements that break down concrete over time, which can reduce long-term repair frequency on well-maintained driveways.
The financial case for DIY sealing is straightforward. Material costs for a standard two-car driveway are generally modest compared to professional quotes that include labor and markup. If you already have basic application tools, the expense is mostly the product itself.
Beyond cost, the process is accessible to most adults with a free weekend. Concrete sealing does not require trade licensing or specialized equipment for a standard residential surface. The steps are defined: clean, prepare, apply, cure.
Cons of sealing your own driveway
Surface prep is labor-intensive
Thorough cleaning, degreasing, and etching a full driveway takes several hours of physical work. Any oil stains, dirt, or residue left behind will prevent the sealer from bonding correctly.
Weather conditions are a hard constraint
Most concrete sealers require temperatures between roughly 50 and 90 degrees Fahrenheit and no rain for at least 24 to 48 hours after application. Applying outside this window risks milky discoloration, bubbling, or peeling.
Wrong product choice causes visible problems
Penetrating sealers, acrylic coatings, and epoxy-based products behave differently and suit different situations. Choosing a film-forming sealer on a damp slab, for example, can trap moisture and cause the coating to fail within months.
Lap marks and uneven coverage are common first-time mistakes
Working too slowly, overlapping wet sections, or missing spots leaves visible streaks or patchy sheen that is difficult to correct without stripping the sealer entirely.
Reapplication adds recurring time and cost
Most driveway sealers need reapplication every two to five years depending on traffic and product type. The project is not a one-time fix, and skipping a cycle lets the protection erode.
Chemical exposure requires proper safety measures
Solvent-based sealers produce fumes that require adequate ventilation and a respirator rated for organic vapors. Working without proper protective equipment poses genuine health risks.
The difficulty is not in applying the sealer. It is in everything that comes before. A driveway with embedded oil stains requires a dedicated degreaser and sometimes multiple cleaning passes before the sealer will bond. Skipping this step produces a coating that peels within a season.
Weather dependency adds another layer of planning. You need a window of dry, mild weather both during application and through the curing period. In many parts of the country, that window is narrower than it appears on a forecast, especially in spring and fall.
When to call a professional instead
If your driveway has widespread cracking, active spalling (surface flaking), or heaving from tree roots or soil movement, sealing over these issues will not fix them and may hide problems that worsen over time. A licensed concrete contractor can assess whether the surface needs repair before any sealer is applied. Permits are generally not required for sealing, but repairs involving structural work may be subject to local codes.
Chemical safety is worth taking seriously. Solvent-based products in particular require a respirator, eye protection, and gloves. Read the product's safety data sheet before you start.
How to set yourself up for a successful application
Preparation is where DIY driveway sealing succeeds or fails. Start by clearing the surface of all debris, then address oil stains with a concrete degreaser. Allow the surface to dry completely, which may take 24 hours or more depending on humidity.
Check the product's instructions for surface moisture requirements. Some penetrating sealers can be applied to slightly damp concrete; most film-forming products cannot. When in doubt, test a small area first.
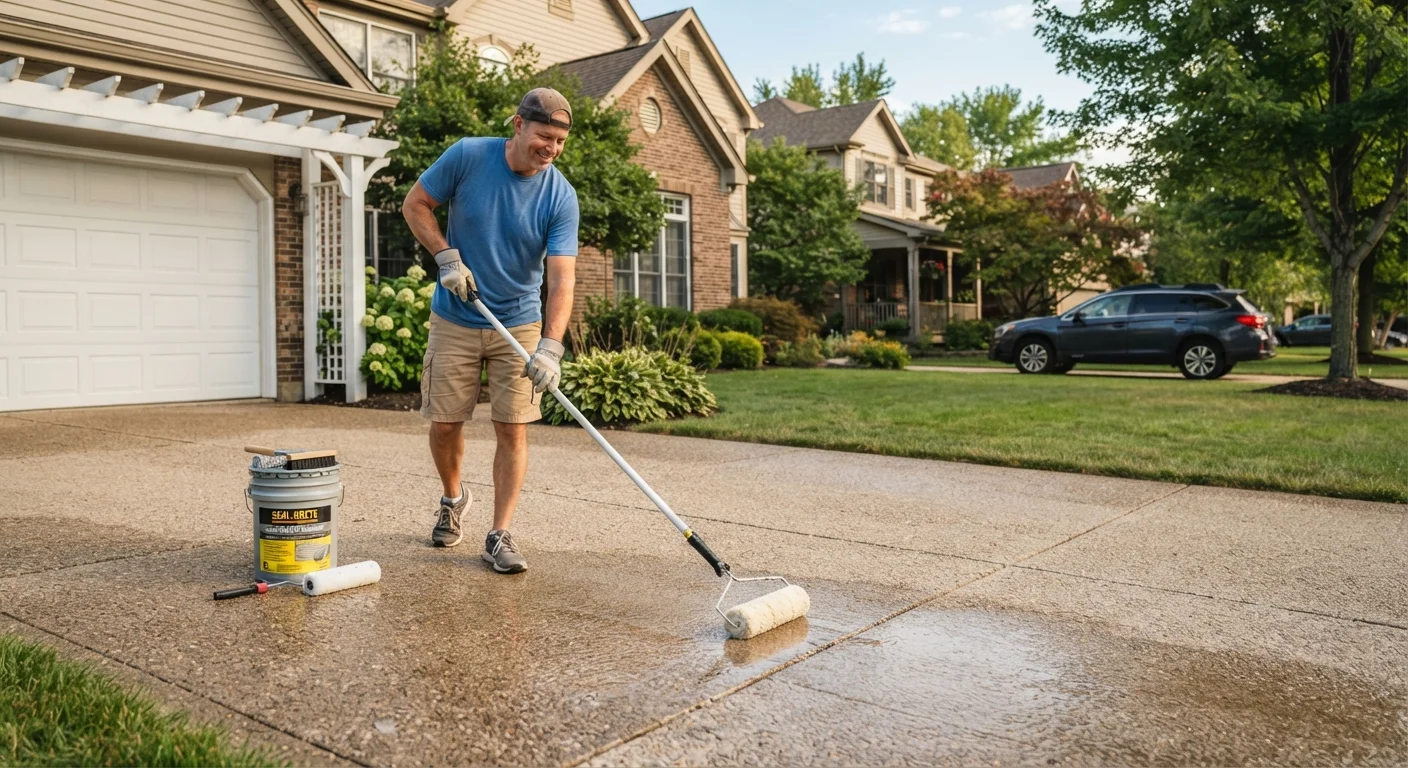
Apply in thin, even coats using a roller or pump sprayer, working in manageable sections and maintaining a wet edge to avoid lap marks. Two thin coats typically outperform one thick application. Follow the manufacturer's stated cure time before allowing vehicle traffic onto the surface.
This article is for general informational purposes only and does not constitute professional contractor advice. For driveways with structural damage, consult a licensed concrete professional and verify any applicable local code requirements before proceeding.