

Key Takeaways
- Scent swapping before any face-to-face meeting reduces stress for both animals.
- Separate feeding stations and resting areas prevent resource-based conflict.
- Most introductions take days to weeks; rushing the process is the most common mistake.
- Body language, not just vocalizations, tells you when an animal is genuinely stressed.
- A resident pet's routine should stay as intact as possible during the transition.
What you will need
Why the introduction phase matters more than people expect
Bringing a second pet home is not simply about whether two animals will eventually tolerate each other. The way the introduction unfolds shapes how they relate for years. Animals read the home environment as a system of territories, resources, and social signals. A rushed introduction can produce chronic stress in one or both pets even when no dramatic fight occurs.
If you are bringing home a very young animal, the early socialization window article explains how young pets process new social experiences differently from adults. The principles below apply to most common household pets, including dogs, cats, and small animals, though the specific pacing will vary. Your veterinarian can advise on species- or breed-specific considerations.
The opening weeks with a new pet involve adjustment for the animal as well as the household. Adding a resident pet to that mix means managing two adjustment arcs at once.
What you will need
Step-by-step introduction process
Prepare separate spaces before the new pet arrives
Set up a dedicated room for the incoming pet with its own food, water, litter box or bathroom access, and bedding. This space should be off-limits to the resident pet entirely. A closed door is the first boundary that protects both animals from an overwhelming first encounter.
Check that the resident pet's core routine, feeding times, play sessions, and sleeping spots, stays unchanged. Disrupting an established animal's schedule while simultaneously introducing a stranger adds unnecessary stress.
Swap scents before any visual contact
Take a piece of bedding or a worn cloth from the new pet and place it in the resident pet's space. Do the same in reverse. Watch each animal's reaction: relaxed sniffing is normal; prolonged hissing, growling, or refusing to eat near the item signals you may need more time at this stage before moving forward.
Scent swapping can run for two to five days. Repeat the swap with fresh items as the animals grow more comfortable.
Allow sound and scent through a closed door
Once both animals eat and rest normally around each other's scent, let them hear each other with only the door separating them. Brief, low-pitched vocalizations often settle on their own. If either animal stops eating or shows sustained distress, extend this phase rather than advancing.
Use a barrier for the first visual introductions
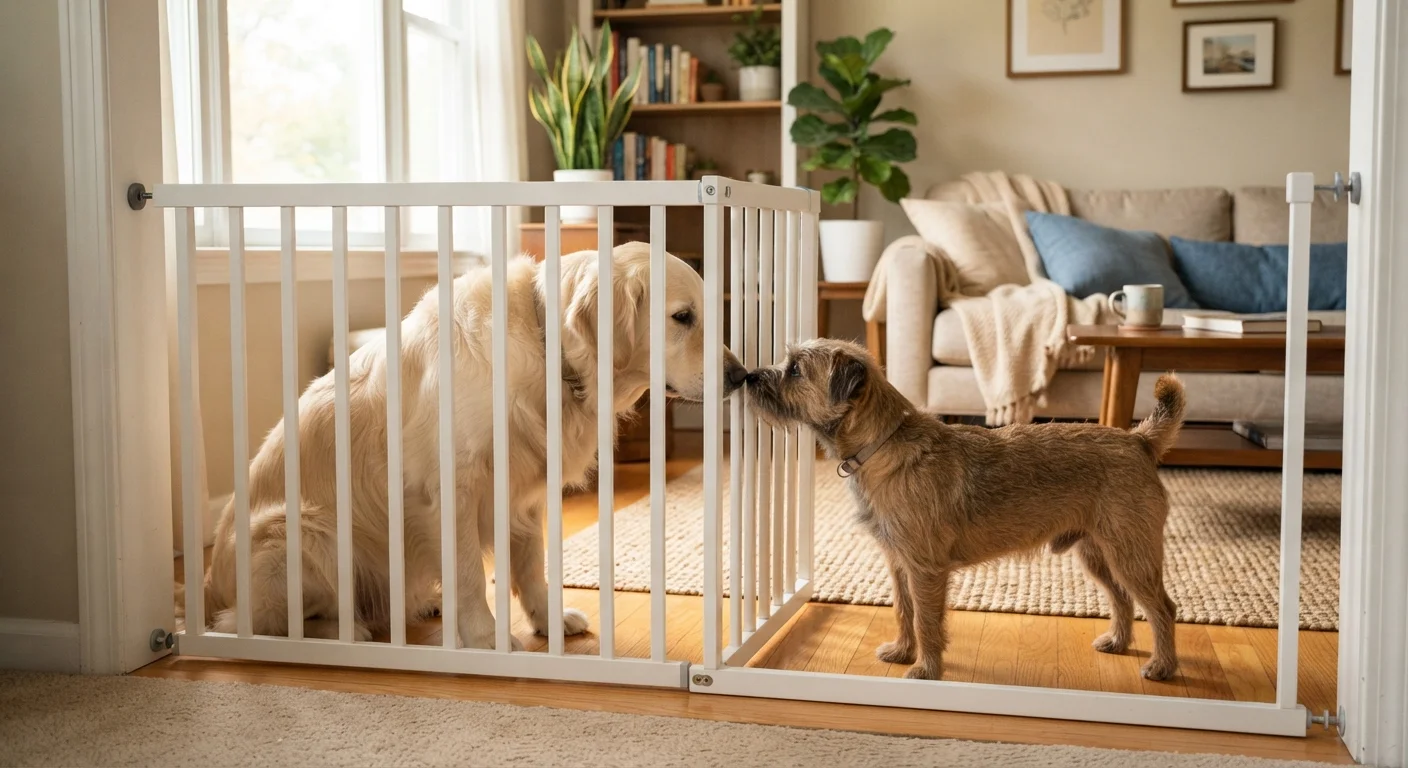
Install a baby gate or crack the door just enough for the animals to see each other. Keep sessions short, ideally under five minutes, and stay present. Reward calm behavior on both sides with treats or quiet praise. End the session before either animal escalates.
For dogs, this stage works well in a neutral area outside the home if possible, such as a backyard or quiet street, where neither animal has strong territorial claims. For cats, the gate or a slightly open door is usually safer than outdoor spaces.
Move to supervised, loose introductions
Remove the barrier and allow both animals in the same space while you watch closely. Keep dogs on a loose leash initially so you can redirect without grabbing. Do not hold a cat forcibly near a dog; let the cat control its own distance. Watch for: stiff posture, fixed staring, raised hackles, flattened ears, or a tail held very low or very high. Any of these signals means the session should end calmly without punishment.
Most animals need several sessions over days or weeks before they settle together. Gradual exposure builds familiarity without forcing a confrontation. See our guide to recognizing pet anxiety for a deeper look at stress signals across species.
Establish permanent separate resources
Even after the animals appear comfortable together, maintain individual feeding stations in different spots and provide one more litter box than you have cats (for example, three boxes for two cats). Resource competition is a slow-burning source of tension that many owners miss until it produces a visible conflict.
Each pet should have at least one resting space the other cannot access, whether a cat tree with high perches, a crate the dog treats as its own, or a gated room. Shared space and private space working together give animals the ability to self-regulate their proximity.
Keep your resident pet's routine intact
Feed, walk, and play with your resident pet at their usual times throughout the introduction process. Consistency tells them that the new arrival has not displaced them. Animals that feel secure in their routine tend to accept change more readily.
Monitoring progress and knowing when to get help
Progress looks like: animals eating normally, sleeping in relaxed postures, moving freely around the home without constantly tracking each other. Setbacks are common and not a sign of failure. A hissing episode or a brief skirmish usually means the pace moved too fast, not that cohabitation is impossible.
Contact your veterinarian or a certified applied animal behaviorist if you observe: sustained refusal to eat, repetitive hiding lasting more than a few days, injury from altercations, or one animal being persistently cornered or blocked by the other. These patterns benefit from professional assessment rather than a wait-and-see approach.
New pet owners sometimes misread normal adjustment behavior as a problem, or miss genuine warning signs. The common first-year mistakes article covers several of the most frequent misreads in the adjustment period.