

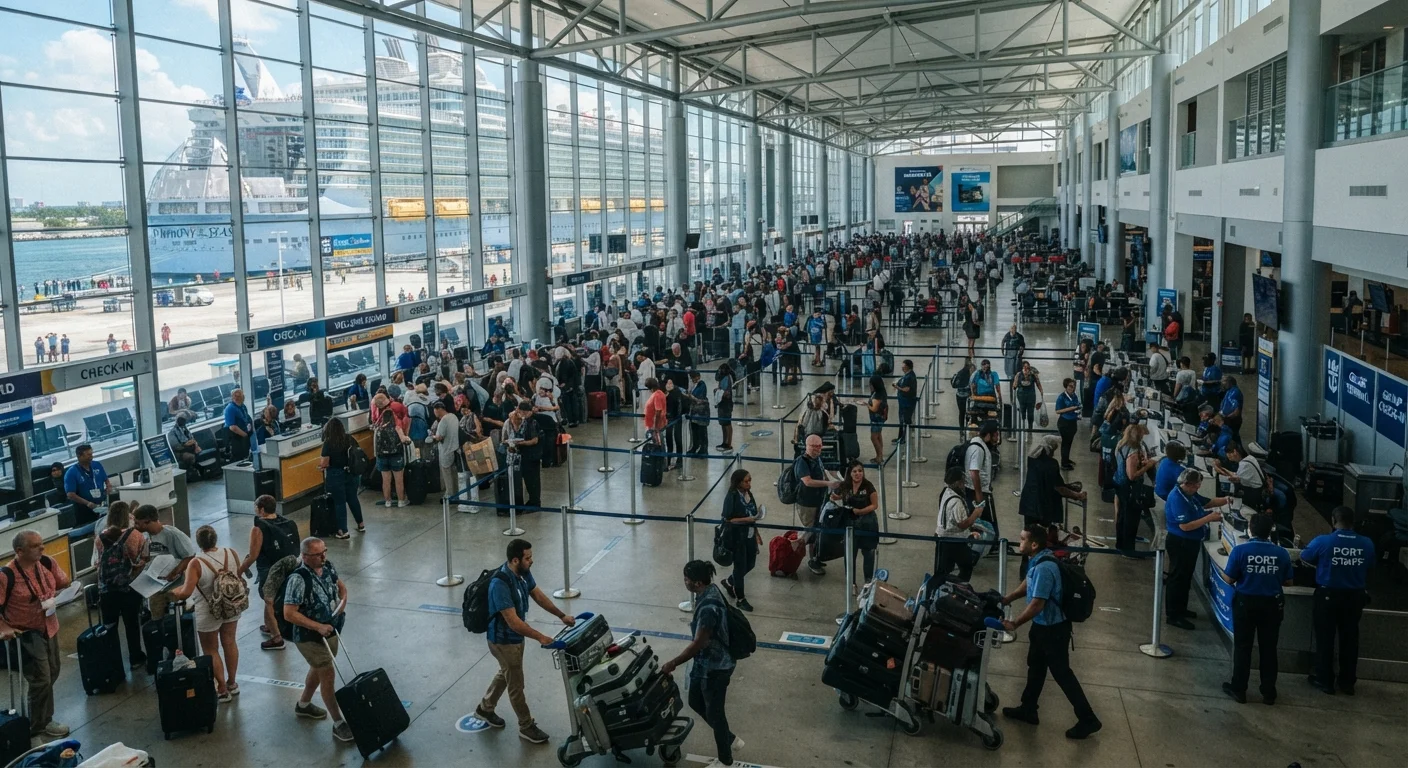
Key Takeaways
- Arrive at the port during your assigned boarding window to avoid long waits at check-in.
- Complete your cruise line's online check-in before embarkation day to speed up the terminal process.
- Porters handle checked bags separately; keep documents, medications, and valuables in your carry-on.
- Muster drills are mandatory on every sailing and must be completed before the ship leaves port.
- Cabins are typically not ready until early afternoon, so plan to board and explore first.
What you will need
What makes embarkation day different from a regular travel day
Embarkation day is part logistics, part transition. You are moving through a port terminal, boarding a vessel, and getting oriented to a floating environment that will be your home for the next several days or weeks. The process is structured and largely predictable, but first-timers are often caught off guard by the gaps: luggage that arrives hours after you do, cabins that are not ready at noon, and a mandatory safety drill that must happen before the ship moves.
Knowing the sequence ahead of time removes most of the friction. The planning work you do before you leave home directly shapes how smoothly the day runs, from parking reservations to having the right documents printed and accessible.
What you will need
Step-by-step: getting from the curb to your cabin
Arrive during your assigned boarding window
Most cruise lines assign boarding windows during online check-in, typically in one-hour or 30-minute increments starting as early as 10:30 a.m. Arriving outside your window, especially earlier, often means waiting in a holding area rather than moving through check-in faster. Follow the time on your boarding pass.
Drop off checked luggage with port porters
Before you enter the terminal, porters stationed at the curb collect bags tagged with the printed luggage tags your cruise line sent. Hand over all bags you want delivered directly to your cabin. Those bags will arrive sometime during the afternoon, often after 2 p.m., so transfer anything you need immediately into your carry-on before handing a bag over.
Clear port security
Terminal security mirrors airport screening: carry-ons go through an X-ray belt, and you walk through a scanner. Prohibited items vary by line but generally include irons, candles, and outside alcohol beyond any per-person allowance. Check your cruise line's prohibited items list before packing so nothing gets confiscated at the gate.
Complete check-in at the terminal counter
A check-in agent verifies your identity documents and boarding pass, scans your passport or ID, takes a photo for your onboard account, and issues your keycard (sometimes called a SeaPass, cruise card, or stateroom key depending on the line). This card functions as your room key, onboard payment method, and ID for getting on and off the ship at every port.
If you completed online check-in fully, this step can take under five minutes. If you skipped online check-in, expect to fill out health declaration forms and payment authorization paperwork at the counter.
Board the ship and get oriented
Once your keycard is scanned at the gangway, you are on board. Cabins are typically not accessible until 1 p.m. or later while housekeeping finishes preparing them. Use the time to walk the ship's layout, locate your muster station (printed on your keycard or visible in the app), find the buffet if you want lunch, and review the daily program for sail-away events.
The full dining setup onboard, including which restaurants open on embarkation day and whether specialty venues require reservations, is worth checking as soon as you board.
Complete the muster drill
International maritime law requires every passenger to complete a safety briefing (muster drill) before the ship departs. Most cruise lines now offer a digital muster process: watch a short safety video in the app or on your cabin TV, then check in physically at your assigned muster station so crew can confirm your attendance. The whole process takes roughly 20 to 30 minutes across both parts.
You cannot skip this step. Ships will not clear for departure until all passengers are accounted for, and crew actively track completion.
Settle into your cabin and prepare for sail-away
Once your cabin is accessible, stow your carry-on, confirm your luggage has arrived (or note it has not yet, which is normal before 3 p.m.), and familiarize yourself with in-room features. Check the TV for the daily program schedule and any announcements about the first night's dining reservations.
Sail-away typically happens in the late afternoon. Many passengers gather on the open decks to watch the ship leave port. This is also a good time to confirm any specialty dining reservations for the first evening, since popular venues fill quickly on day one.
Passengers with mobility needs or medical equipment should review accessibility details specific to their ship well before embarkation day. The guide to accessible cruising covers what to ask about gangway access, cabin configuration, and medical facilities so that none of those questions arise for the first time at the terminal.
After the drill: the rest of embarkation evening
Once the muster drill is complete and the ship clears the port, the full onboard program opens. Guest services is busiest on embarkation evening, so handle anything time-sensitive (spa reservations, specialty dining, shore excursion bookings) through the app or at venue desks rather than the main desk line.
Your cabin category determines what amenities you have on arrival: suite guests often receive priority boarding and pre-stocked minibars, while inside cabin guests simply have a compact, functional room to return to. Neither category changes the embarkation process itself, but knowing what your cabin includes prevents confusion when you walk in for the first time.
Pre-check-in is worth doing completely
Most cruise lines allow full online check-in 60 to 90 days before sailing. Completing every field, including uploading a photo, entering your passport details, and linking payment, reduces your terminal check-in to under five minutes in many cases. Partial check-in still leaves forms to complete at the counter.